Have you ever found yourself in your driveway, pondering whether changing oil at home is a task you can handle? This common job often outsourced to mechanics, might appear daunting at first. Yet, with the right approach, it transforms into an empowering DIY project.
Before starting this article, Did you ever think about How much it costs you do an oil change? And how must does it cost when you do a DIY? or what to do when car is low on oil?
Table of Contents
Tools and Equipment Required for Changing Oil at Home
Changing oil at home is a skillful mix of technique and accuracy. If you have the right tools, it can easily change the game by efficient, cost-saving, and also safety. There’s no other opposite view to the importance of having the right equipment.
-
Essential Tools
To start, a robust pair of jack stands, and a durable wrench are First priority. These aren’t just tools; they’re your safeguards against accidents and ensure a smooth workflow. The jack stands are important for keeping your vehicle safe. The wrench, whether a box-end or a 6-pt and also the socket is the main point in loosening and tightening the oil drain plug.
A high-quality oil catch pan isn’t just a place for the old oil; it’s a commitment to be clean and be more environmentally responsible oil change. Similarly, safety glasses might seem not important, but they are your first line of defense against accidental oil splashes.
-
Additional Supplies
Then there are other tools for the oil change process: rags, a funnel, and a container for old engine oil disposal.
- Rags are using for any spills or drips, ensuring your workspace remains clean.
- The funnel is the bridge between new oil and your engine, they make sure there is a spill-free transfer.
- And the disposal container. It’s not just about getting rid of old oil; it’s about doing it responsibly, aligning with environmental ethics.
This set of tools and supplies doesn’t just make changing oil at home become real; it elevates it to a practice that’s both efficient and safe. Remember, the right tools don’t just make a task possible; they make it smoother and more enjoyable.
The essential Tools and Equipment Checklist is here in this table.
| Tool/Equipment | Description |
| Oil Drain Pan | To catch the old oil |
| Wrench Set | For removing the oil drain plug and oil filter |
| Funnel | To pour new oil into the engine without spilling |
| Oil Filter Wrench | For removing the old oil filter |
| Jack and Jack Stands | To elevate the car safely |
| Work Gloves | To protect hands from oil and grime |
| Rags or Paper Towels | For cleaning spills and wiping hands |
| New Oil and Filter | Suitable type for your specific car model |
Type of Oil and Oil Filter Needed for Different Car Models
Changing oil at home looks simple task that requires more than just a mechanical activity; it needs to understand what your car specifically needs. This is where the art of selecting the right type and grade of oil, along with a compatible oil filter, comes in. It’s not just about the oil change; it’s about optimizing your car’s performance and longevity.
-
Look at Oil Specifications
Each car model has its unique requirements when it comes to oil type. Synthetic, semi-synthetic, or mineral oils are not just varied choices; they are specific formulations designed to cater to different engine types.
- Synthetic oils, known for their high-performance quality, are suited for modern engines and extreme weather conditions.
- Semi-synthetic oils strike a balance between high performance and cost-effectiveness, while mineral oils are often preferred for older car models due to their simpler formulations.
Viscosity, indicated by numbers like 5W-30, is not just a random number; it’s about your engine’s health. The right viscosity ensures optimal engine performance and protection. This aspect of oil selection isn’t just a detail; it’s a factor in maintaining engine health.
-
Selecting the Right Oil Filter
A proper oil filter is like the guardian of your engine. It’s not just about filtering impurities; it’s about ensuring that your engine is protected from potential harm. The choice of an oil filter should be aligned with your car model’s specifications.
-
Choosing Oil and Filters for Different Car Models
Recommended oil and filters for popular car models:
| Car Model | Recommended Oil Type | Recommended Oil Filter |
| Honda Civic | 5W-30 Synthetic | Fram XG7317 |
| Toyota Corolla | 0W-20 Synthetic | Bosch 3323 |
| Ford F-150 | 5W-20 Synthetic | Motorcraft FL-500S |
| Chevrolet Silverado | 0W-20 Synthetic | ACDelco PF63E |
| Nissan Altima | 5W-30 Synthetic | FRAM TG7317 |
Step-by-Step Process for Changing Oil at Home
Changing oil at home is not just a task; it’s an art of precision, care, and understanding your vehicle’s needs. Every step in this process is a chapter in extending your car’s life and performance. Let’s check them and follow the steps.
In summary, the Key steps for conducting an oil change at home are here:
| Step | Description | Estimated Time |
| Preparing Your Vehicle | Safely elevate and secure the car | 10 mins |
| Draining the Old Oil | Remove the plug and drain the old oil | 20 mins |
| Replacing the Oil Filter | Remove the old filter, lubricate and install a new one | 10 mins |
| Adding New Oil | Pour new oil using a funnel | 10 mins |
| Checking Oil Level | Ensure correct oil level and check for leaks | 5 mins |
| Cleanup and Disposal | Properly dispose of old oil and clean the area | 15 mins |
Step 1- Preparation
The preparation phase Starts by making sure the car is parked on a level surface.
During this process, applying the parking brake is a crucial step in securing your vehicle.
step 2- Draining the Old Oil
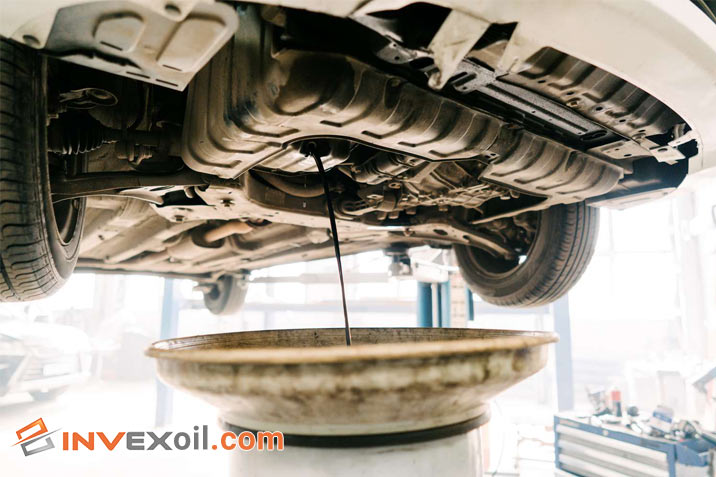
Pay attention to the details when you’re looking for the drain plug. Oil catch pans don’t just catch old oil; they protect the environment too. Removing the plug requires not just the right tool but the right technique. When the oil drains, you shouldn’t just wait; you should watch how the old oil looks, which can tell you how your engine is doing.
You have to make sure the plug is properly tightened after the oil is drained to avoid leaks, but not too tight to ruin the threads.
step 3- Replacing the Oil Filter
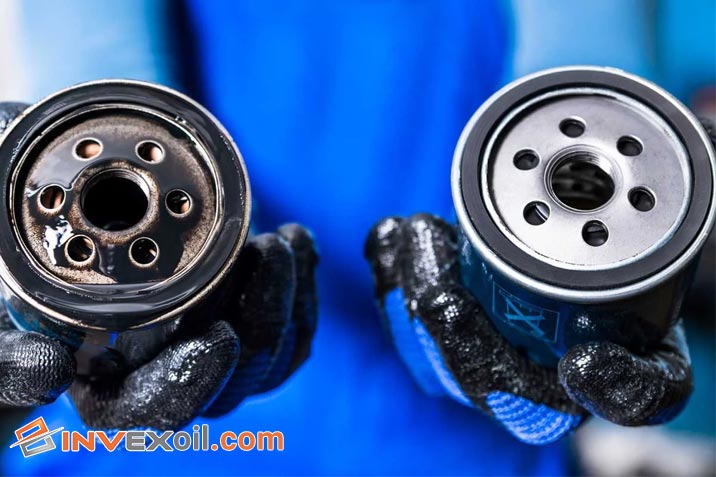
Oil filters keep your oil clean by capturing impurities.
- Locate and Remove: The first step is locating your oil filter. It’s usually near the engine but varies by car model. Once located, use an oil filter wrench to loosen it gently. Remember, the filter can be hot and filled with oil, so pay attention to avoid any damage.
- Prepare the New Filter: Before installing the new filter, lightly coat its rubber seal with fresh oil.
- Install the New Filter: Gently screw the new filter in place by hand. Once it’s fit in place, give it a slight additional turn with the wrench. Over-tightening can damage the seal, so a firm, not forced, approach is recommended.
- Double-Check: A quick inspection to make sure the filter is seated correctly is always a good idea. A well-fitted filter means a well-protected engine.
step 4- Adding New Oil
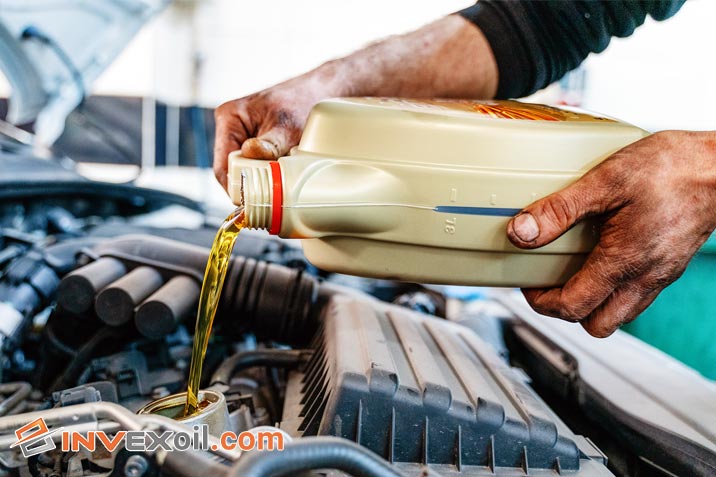
Adding new oil isn’t just pouring it in; it’s about precision and understanding your car’s needs.
- Choose the Right Oil: Different engines require different oils. Check your owner’s manual for the recommended type and viscosity.
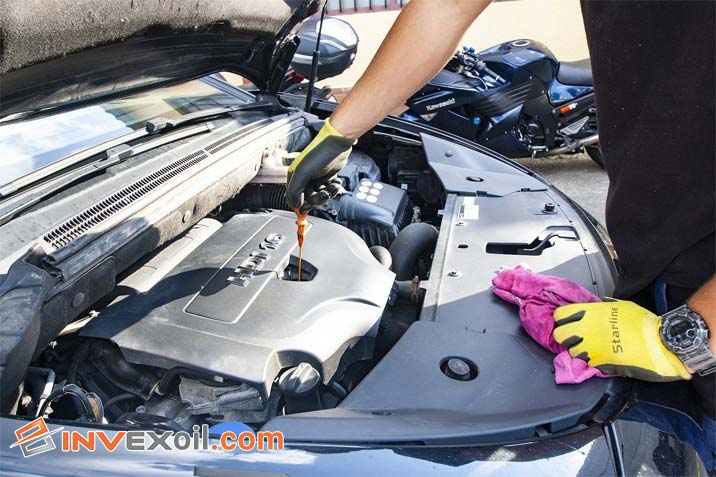
- Fill Her Up: Remove the oil cap and use a clean funnel to pour in the new oil. Start by adding the amount recommended in the manual, but don’t overfill.
- Check the Level: After adding oil, wait a few minutes, then check the level with the dipstick. This isn’t just a check; it’s ensuring your engine has just what it needs.
step 5- Post-Change Checks
The job isn’t over once the new oil is in.
- Leak Check: Start the engine and let it run for a few minutes. Check underneath for any signs of leaks. A leak-free change is a successful change.
- Dispose of Old Oil: Disposing of the old oil responsibly is not just environmentally sound; it’s a car owner’s duty. Take it to a recycling center or an auto shop that accepts old oil.
- Final Inspection: Make sure all caps are back in place, and the work area is clean. This isn’t just tidying up; it’s about leaving no room for error.
Safety and Precautions
It’s important to recognize the risks and follow safety measures when changing oil at home.
Essential safety measures for changing oil are here in this table.
| Safety Precaution | Description |
| Secure Vehicle Elevation | Ensure the car is safely elevated on jack stands |
| Wear Protective Gear | Use of gloves and safety glasses |
| Work in a Well-Ventilated Area | Avoid inhalation of fumes |
| Keep a Fire Extinguisher Nearby | In case of accidental fires |
| Check for Hot Surfaces | Engine and exhaust can be hot |
| Proper Disposal of Oil | Follow local regulations for oil disposal |
Conclusion
In summary, changing oil at home is not only a possible task but also a skill that every car owner can do it. This comprehensive guide has equipped you with the necessary knowledge, from selecting the appropriate oil and filter for your vehicle to the detailed, step-by-step process of the oil change. By understanding these essential steps, you are now prepared to do this maintenance task confidently and help your vehicle to be healthy.
FAQ
What are the essential tools needed for changing oil at home?
The essential tools for changing oil at home include jack stands, a wrench, oil catch pan, safety glasses, rags, a funnel, and a container for old oil disposal.
How do I choose the right type of oil and oil filter for my car when changing oil at home?
Choosing the right oil involves considering your car’s specifications, such as the recommended oil type and viscosity. The choice of oil filter should align with your car model’s specifications.
What safety precautions should I take when changing oil at home?
Safety precautions include securely elevating the vehicle, wearing protective gear like gloves and safety glasses, working in a well-ventilated area, having a fire extinguisher nearby, checking for hot surfaces, and ensuring proper disposal of used oil.

Hello, This is Matteo Hudson Copywriter from InvexOil. We are here to provide super-important content to help you learn more easily and be involved in the world of Petroleum and Chemistry. We are here to answer your questions, help you to have better services, and also find the best solution for your problems. Don’t be shy and ask your questions in the comment box or call our number. If you want to connect with me directly, you can search for my name on Linkedin.

